
TL;DR we found the best Cookie compliance script.
Cookie script makes it easier to comply with the European AVG/GDPR law, which has been in force since May 25, 2018.
What is the GDPR?
The GDPR is a European privacy regulation. It ensures the careful processing of personal data by businesses and organisations. For instance, you must have a good reason to process personal data. And you are not allowed to gather and use more data than is absolutely necessary. These rules apply across the EU/EEA. GDPR stands for General Data Protection Regulation, but in the Netherlands, the GDPR is referred to as the AVG or Algemene Verordening Gegevensbescherming. The GDPR came into force on 25 May 2018.
Examples of personal data
Names and addresses, telephone numbers and postal codes and house numbers all constitute personal data. Sensitive data, f.i. someone’s race, sexual orientation, religion, or health, are called special personal data. It is not allowed to process special or criminal personal data, unless an exception has been made for you in the law.
The GDPR applies to all companies that do business in, or with, the EU
If your business is located in one of the EU member states or in the EEA, even if only with a subsidiary or branch, or if (even one of) your customers, suppliers or any other stakeholders are residents of an EU member state, you need to comply with the GDPR.
One of the consequences for the website is that you now have to ask permission from the visitor before placing cookies. There are quite a few providers for sometimes sky-high amounts that are not easy to implement for smaller companies, so that it is sometimes unnecessary. Now that in addition to Europe, California and other parts of the world (eg Turkey, South Africa, Brazil, Canada, Thailand) are opting for more privacy legislation, it is clear that privacy is indispensable, in fact, it is becoming increasingly important. And therefore smaller companies also have to participate.
We ourselves are a big advocate of privacy and had removed Google Analytics and Facebook years ago. And our new website is static html, without cookies. However, we’ve added a chat bubble from Help Scout (our helpdesk ticket software provider), which allows you to ask questions and view frequently asked questions. Since Help Scout sets cookies, we also need to implement a cookie consent solution.
We choose cookie-script.com because it:
- Easy and fast to implement
- In English, Dutch, German, Thai etc. (support for 34 languages in total + custom translations if you want it)
- WordPress and many other integrations
- Free, or with more options for a low amount per month (6 euros for 2 websites). Free works up to 20,000 page views per month.
Step 1 – Sign up
Go to cookie-script.com (and click on “Try now“, Dutch language is supported, see step 2.2).
Enter your name, desired username (username) and password, your email and click “Register”.
Step 2 – Create a profile for your website
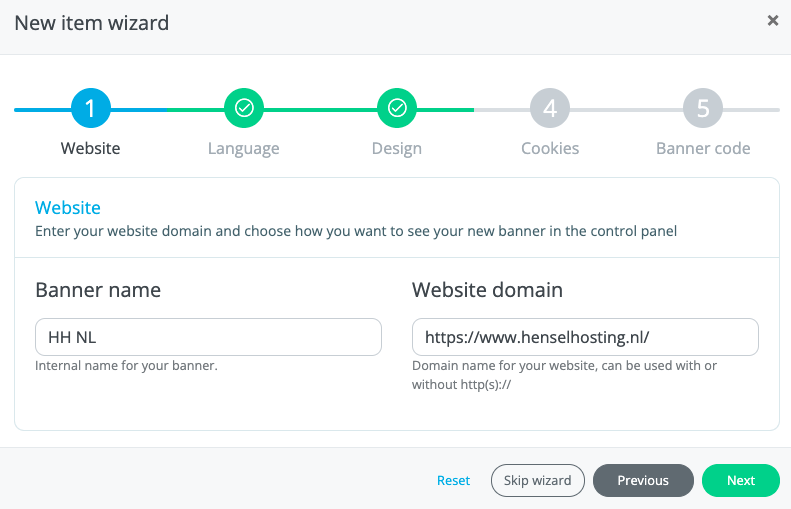
Follow the pictures below:
2.1 – choose a name for the profile, e.g. my website, and the URL of your website
2.2 – choose the language for the initial cookie banner text (this can be changed later)
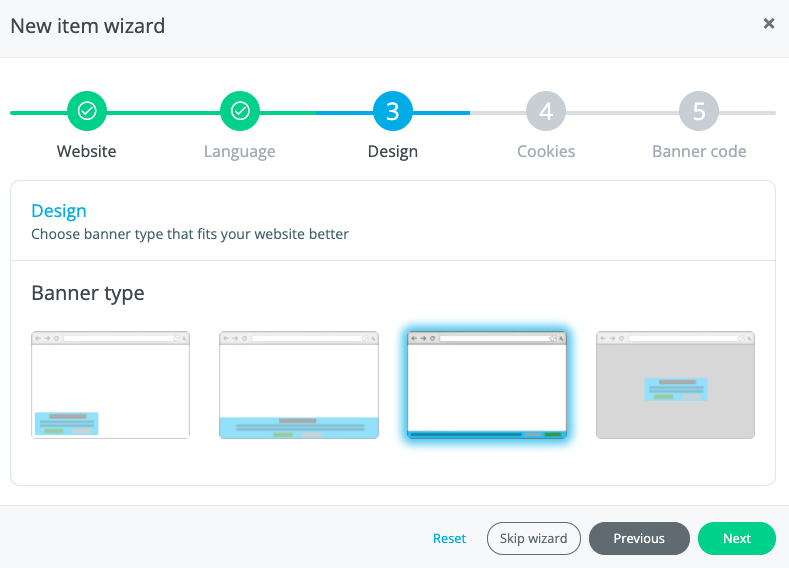
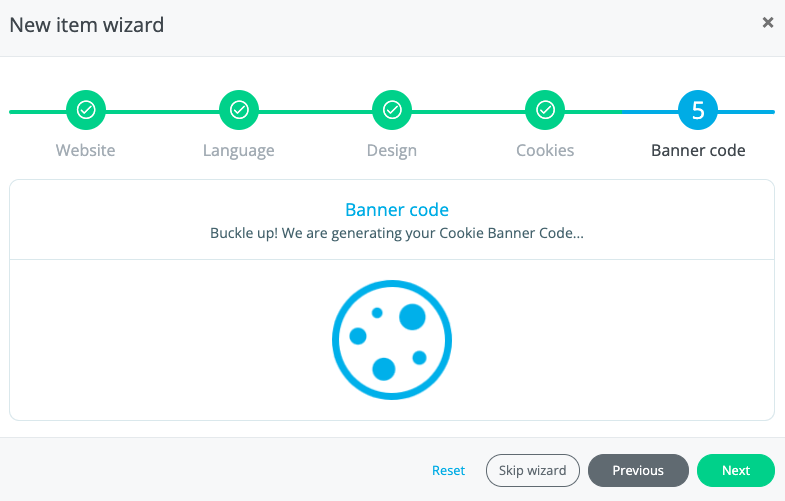
2.3 – choose from one of the 4 basic designs (for example pasted at the bottom)
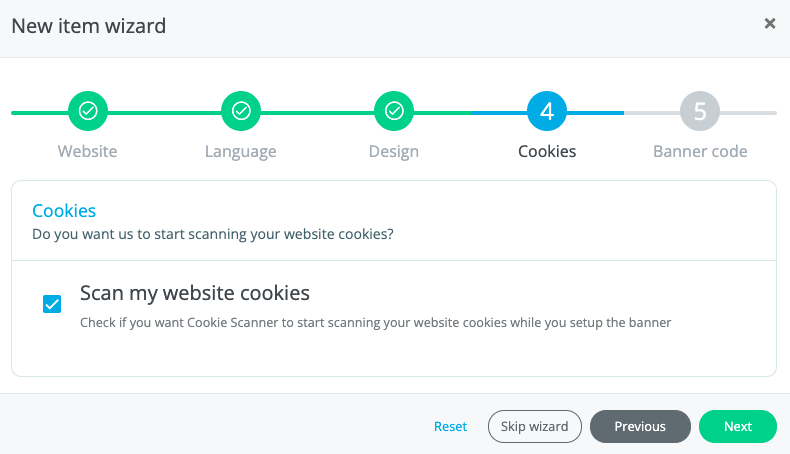
2.4 – scan your website* (*skip this if you haven’t got everything right yet — see “Cookie Statement” below for more information, but in short: you can only scan once every 24 hours with the free version)
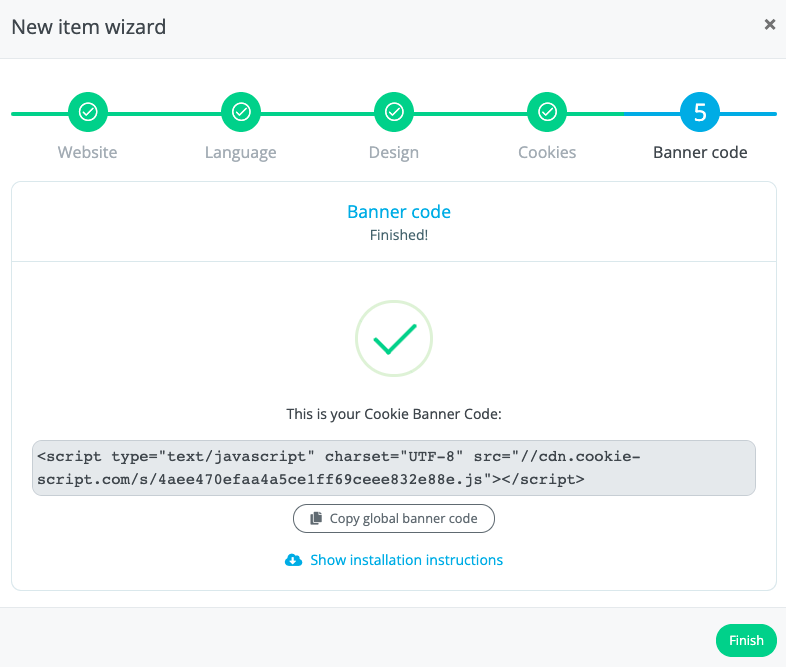
2.5 – copy the code (if you are at home in html). Or skip this step. Installing for example a WordPress plugin comes in the next step.

Step 3 – Install the WordPress plugin (optional)
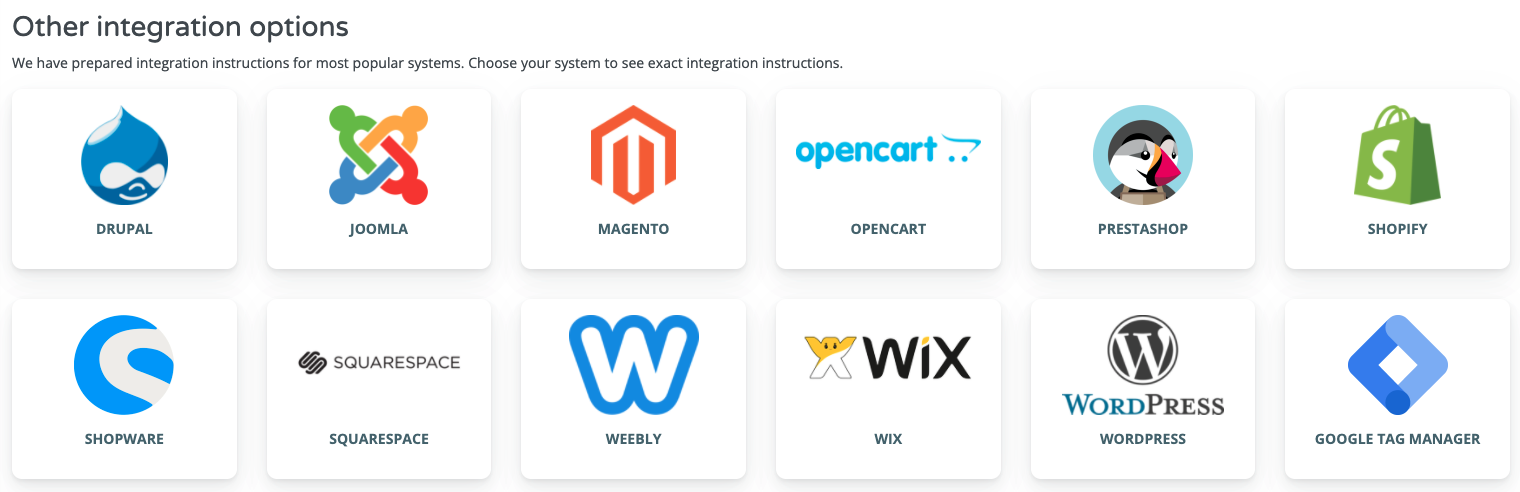
If you’re using anything other than WordPress, follow the guide. On Cookie script, go to Dashboard > Choose a website profile > Edit > Settings > Installation and scroll down and choose the desired integration manual.
Note: If you copy the javascript code into your website yourself, make sure that the cookie script code is loaded before any other code that may need to be blocked.
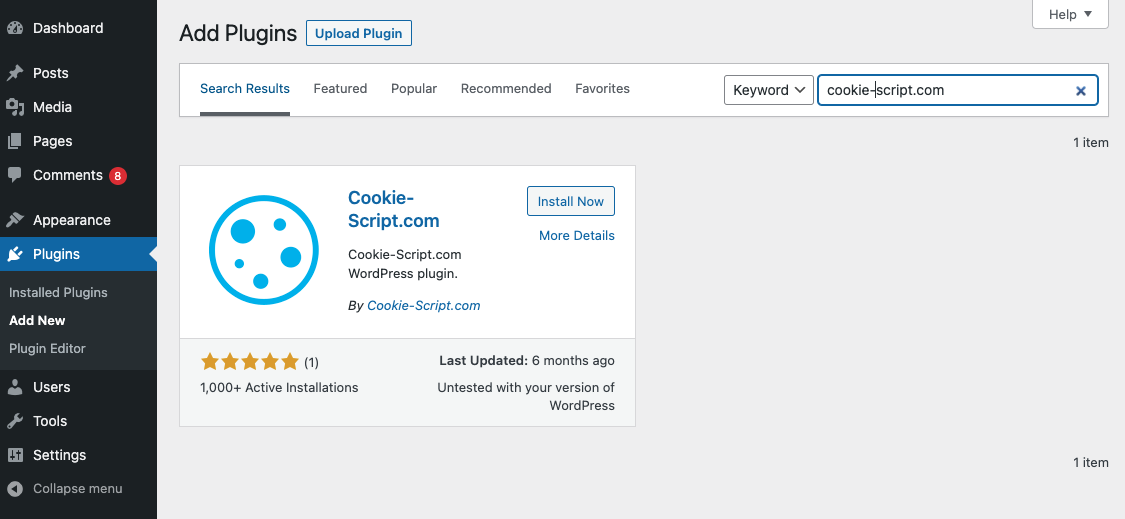
Use WordPress? Then log in to your WordPress website, usually you put /wp-admin after the name of your website to log in. Then go to Plugins > Add New > Search for “cookie-script.com” — it will look something like the picture below. Click “Install Now” and after installing that button will change to “Activate“. Click on that too.
Go to the settings of the plugin, via Settings > Cookie-Script.com
You now need an ID (see the next section). You can also choose which visitors should receive the cookie banner. Choose “Global” to show it to all visitors.
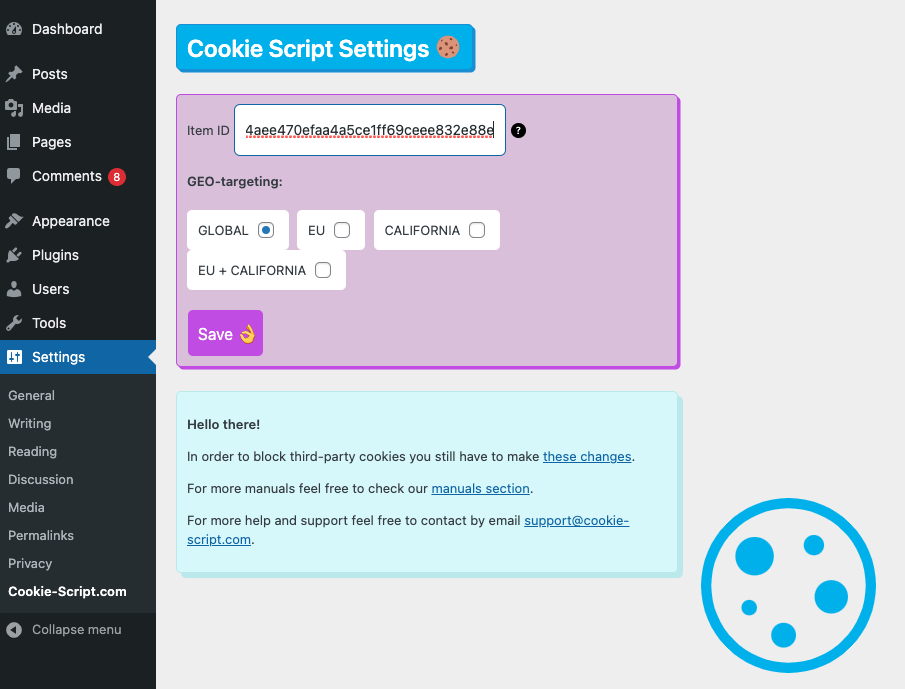
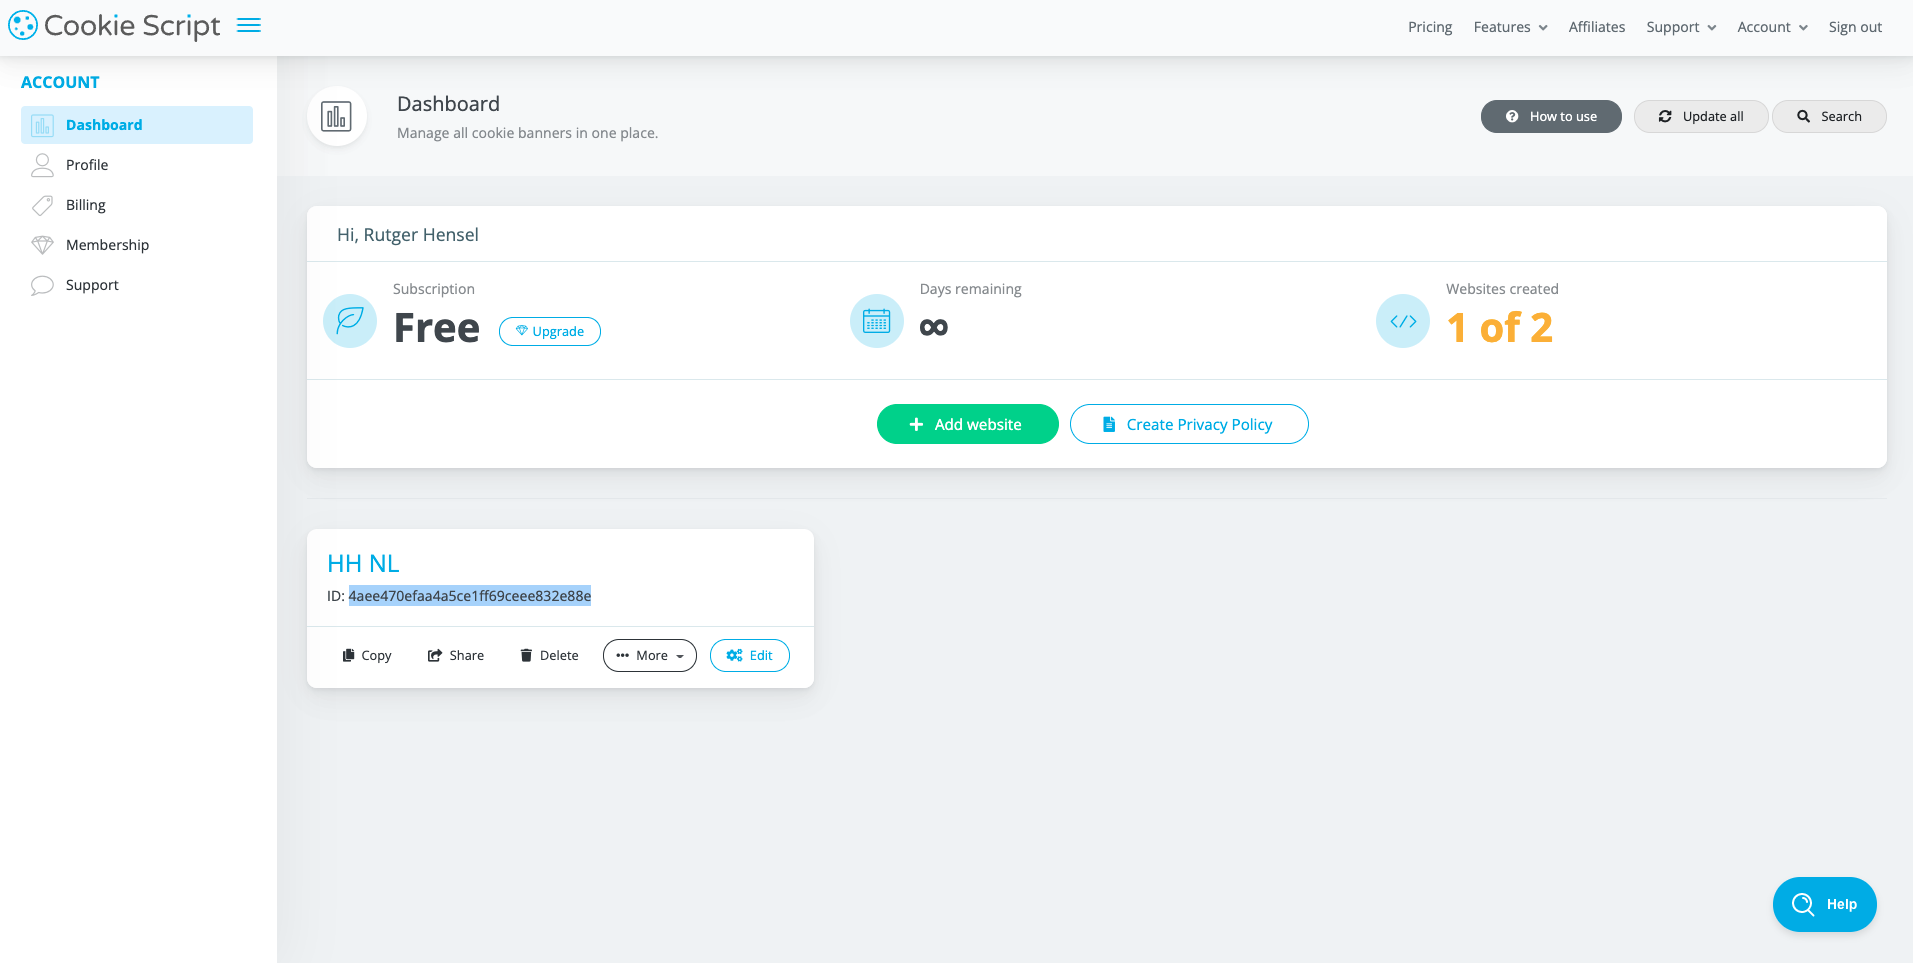
In the Dashboard of cookie script you can see all your website profiles. Each profile has an ID (see the picture below). You need this ID in WordPress. You cannot use the “Copy” button. That is used to duplicate the whole profile. So just copy it by selecting it and then Ctrl-C (Windows/Linux) or Cmd-C (Mac). And then paste it in WordPress at Item ID (see the paragraph and the image above) and click Save.
Step 4 – Adjust Settings
Everything works now! Congratulations! But you may want to adjust some settings, that’s possible.
In Cookie script go to Dashboard > Choose a profile > Edit > Settings
Settings > Main Settings – You have to enter the Cookie Policy URL here, you can refer to your privacy statement if it includes something about cookies, but they also have templates available. You can also choose a smaller button here via “Smaller button without icon”.
The following options are already set correctly, so you don’t have to, but you can change everything.
Settings > Behavior
Settings > Design – left or right, dark or light version (small or large goes via Settings > Main Settings)
Settings > Texts
Settings > Translations
(Optionally) Stop third party scripts from even loading until the visitor approves their setting:
>>> If you’re on the free plan or lite (paid) plan, you can’t use the Scripts tab, but you have to change the javascript open tag from:
<script type="text/javascript">
to:
<script type="text/plain" data-cookiescript="accepted" data-cookiecategory="functionality">
In this case we used functionality but there are 5 different options:
Strictly Necessary cookies: strict
Functionality cookies:  functionality
Marketing cookies: targeting
Performance cookies: performance
Unclassified cookies: unclassified
For more information about blocking scripts please check here.
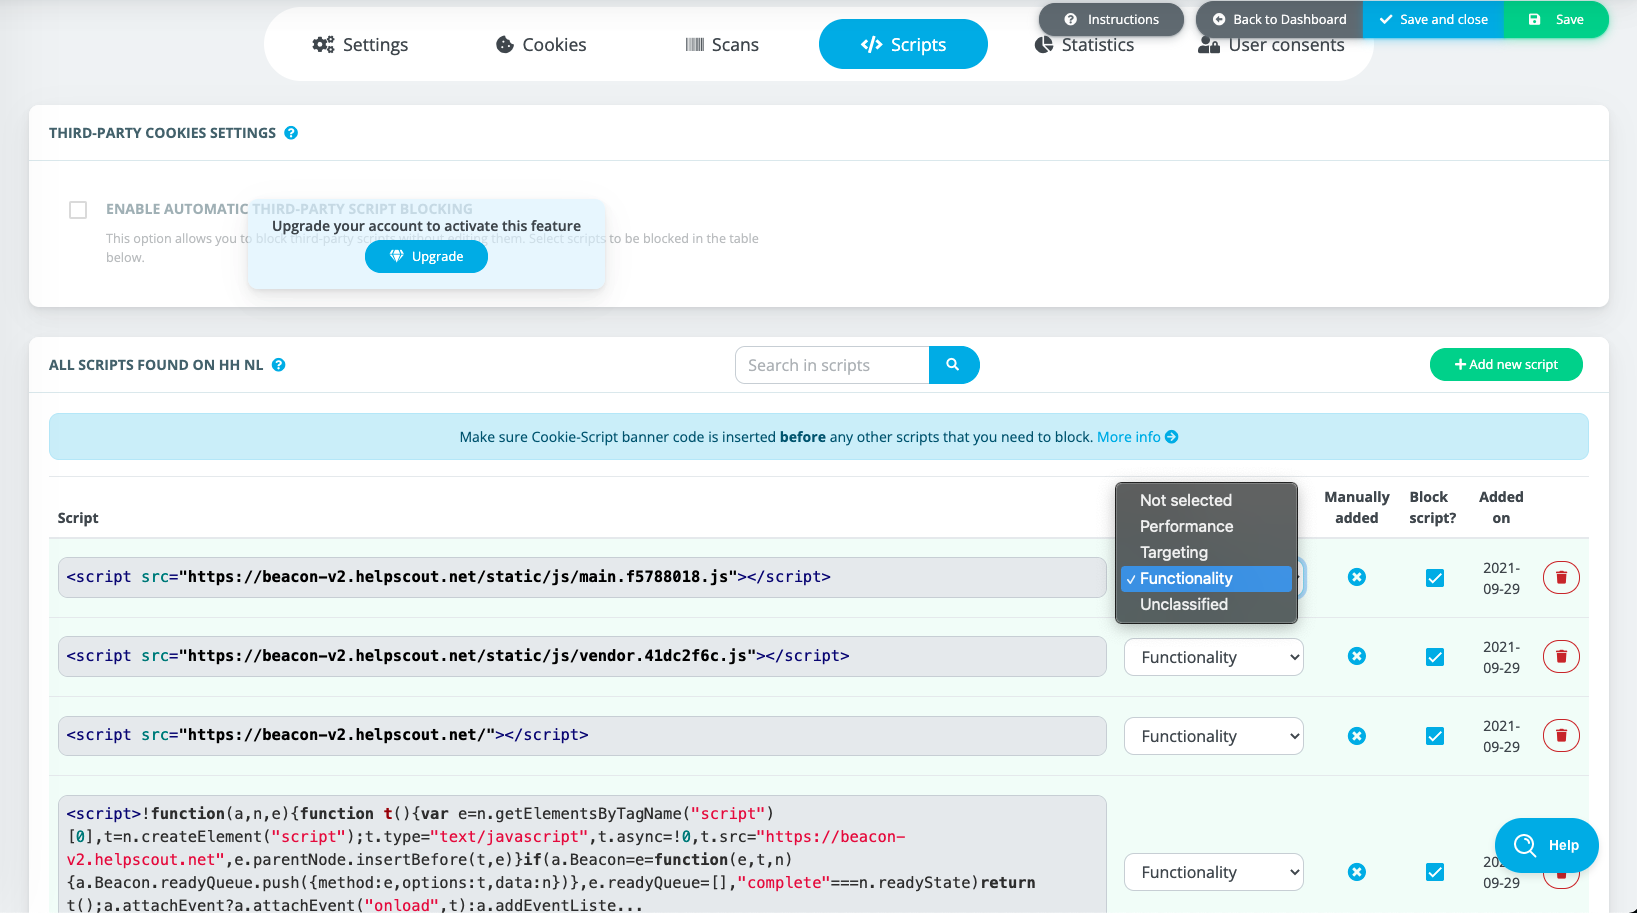
>>> If you’re on the standard or above (paid) plan, you can use the Scripts tab to stop third party scripts from even loading until the visitor approves their setting.
The Scripts tab is next to Settings, see the picture below. Here you can find all scripts. You can indicate per script whether it is, for example, Functional or something else. In the picture below we selected “Functional” for the scripts from Help Scout (our helpdesk/ticket supplier). If the visitor then blocks cookies, the chat bubble at the bottom of our website will not be displayed. As a result, the visitor misses functionality, such as links to frequently asked questions.
Leave all essential scripts set to “Not selected”. Only choose the third party scripts that can be blocked without causing the website to stop working.
And turn on the main checkbox to enable this functionality in the first place. Cookie-script confirmed they will update this page to make it a little easier to understand.
Troubleshooting
Problem: Missing cookie statement
Solution: In the free version, you can only scan the website once every 24 hours. So make sure everything is set up correctly, so that the scan finds all cookies and scripts at once. Based on this, and based on the settings, the cookie statement is created, which is shown to the visitor via Show details > Cookie statement.
If that cookie statement turns up empty, you can try again after 24 hours, via Scans > Scan again
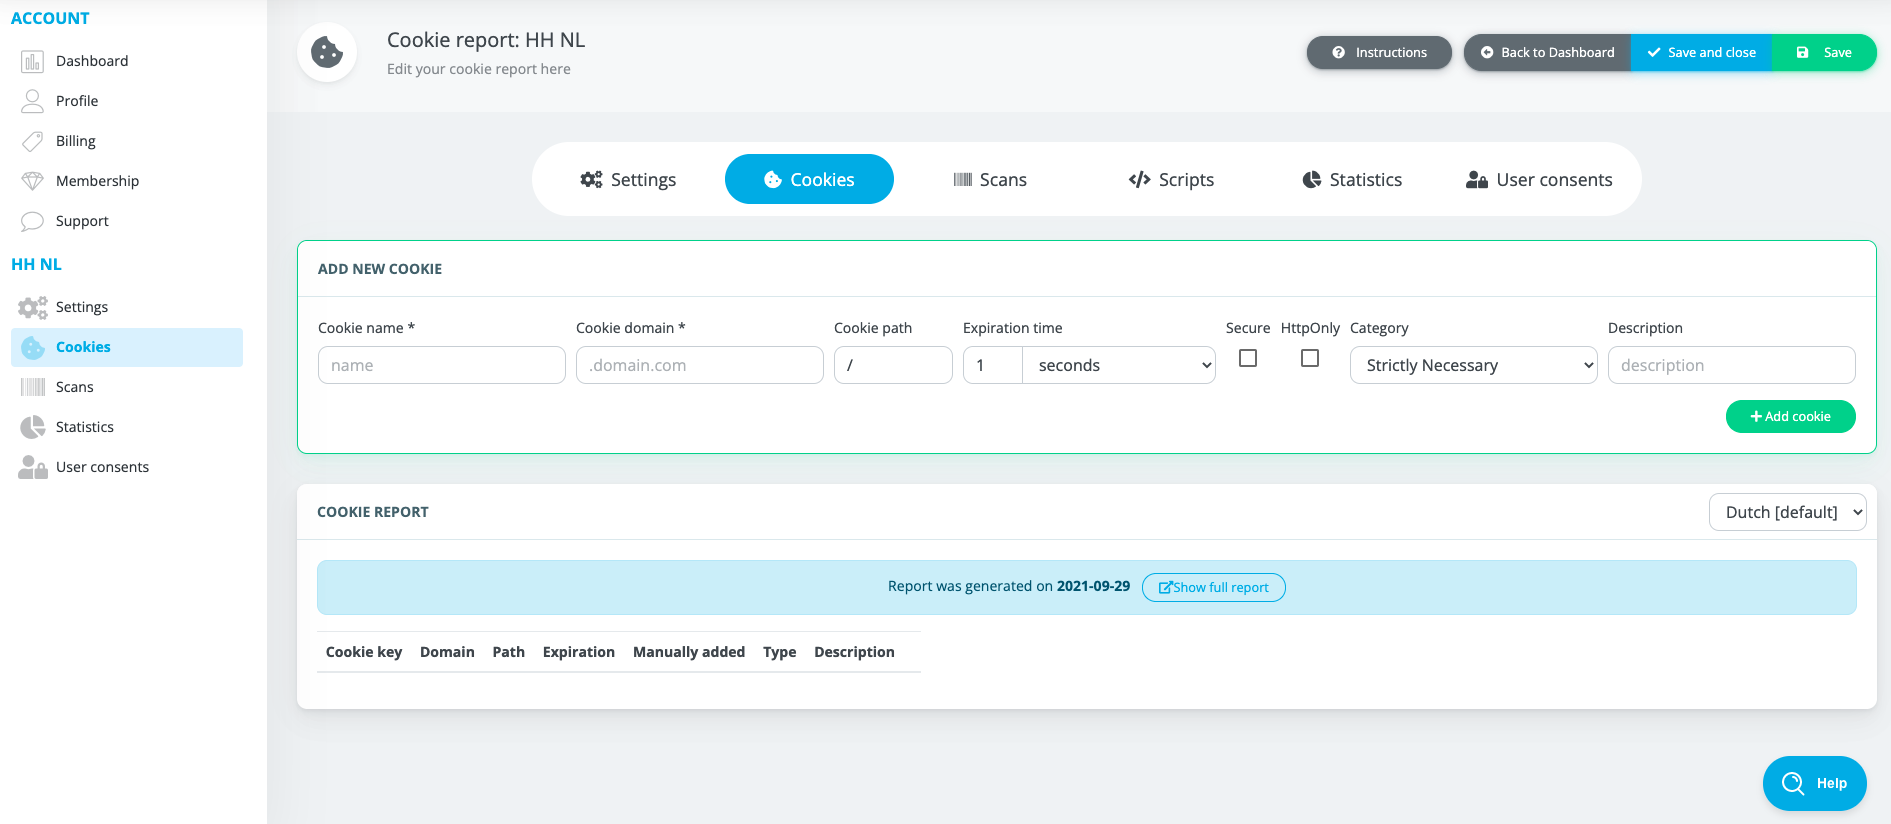
Cookies are found via the scan, but if that is not the case, you can also add cookies manually. Check your own website, via the browser Developer Tools (Cmd-Option + i on Mac). On the Application tab you can find all Cookies under Storage.
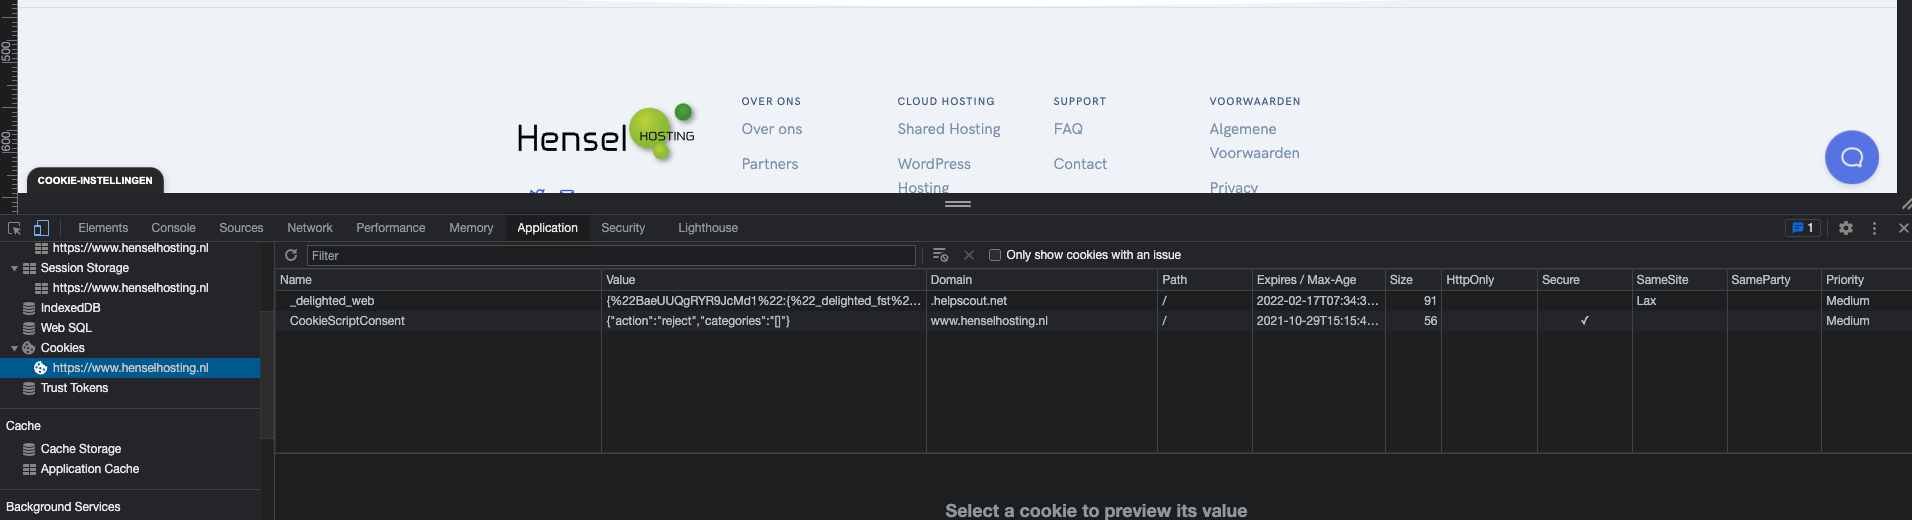
You then transfer this to Cookies on the cookie script website.
For full transparency: this solution is free in most cases. If you do take out a paid subscription via the registration link, we will receive a percentage of that. Because we now know this product better, we can also offer you better support. You are not obliged to purchase this product, however, it is the best solution we have found so far. And we have already seen a lot of solutions for customers.